Smart Fields are a versatile tool that allows for the dynamic display of text, serving various purposes across different scenarios. They can be utilized for tasks ranging from visualizing date/time information (e.g., automatically updating copyright labels) to extracting EXIF data from a photo, and even displaying mathematical formulas or text animations.
When working with Smart Fields, they seamlessly integrate into text elements and buttons, presenting a bubble-like interface for easy editing. Simply clicking on the bubble opens up the Smart Field settings for further adjustments.
To insert Smart Fields, you can access the "Smart Fields" option within the "Insert" menu, or use the dedicated button labeled "Insert Smart Field..." found in the Style inspector when editing text. Once inserted, Smart Fields can be edited, copied, pasted, or deleted just like regular text.

When previewing in the browser or viewing the published site, Smart Fields will function fully as intended, providing dynamic and interactive content to your users.
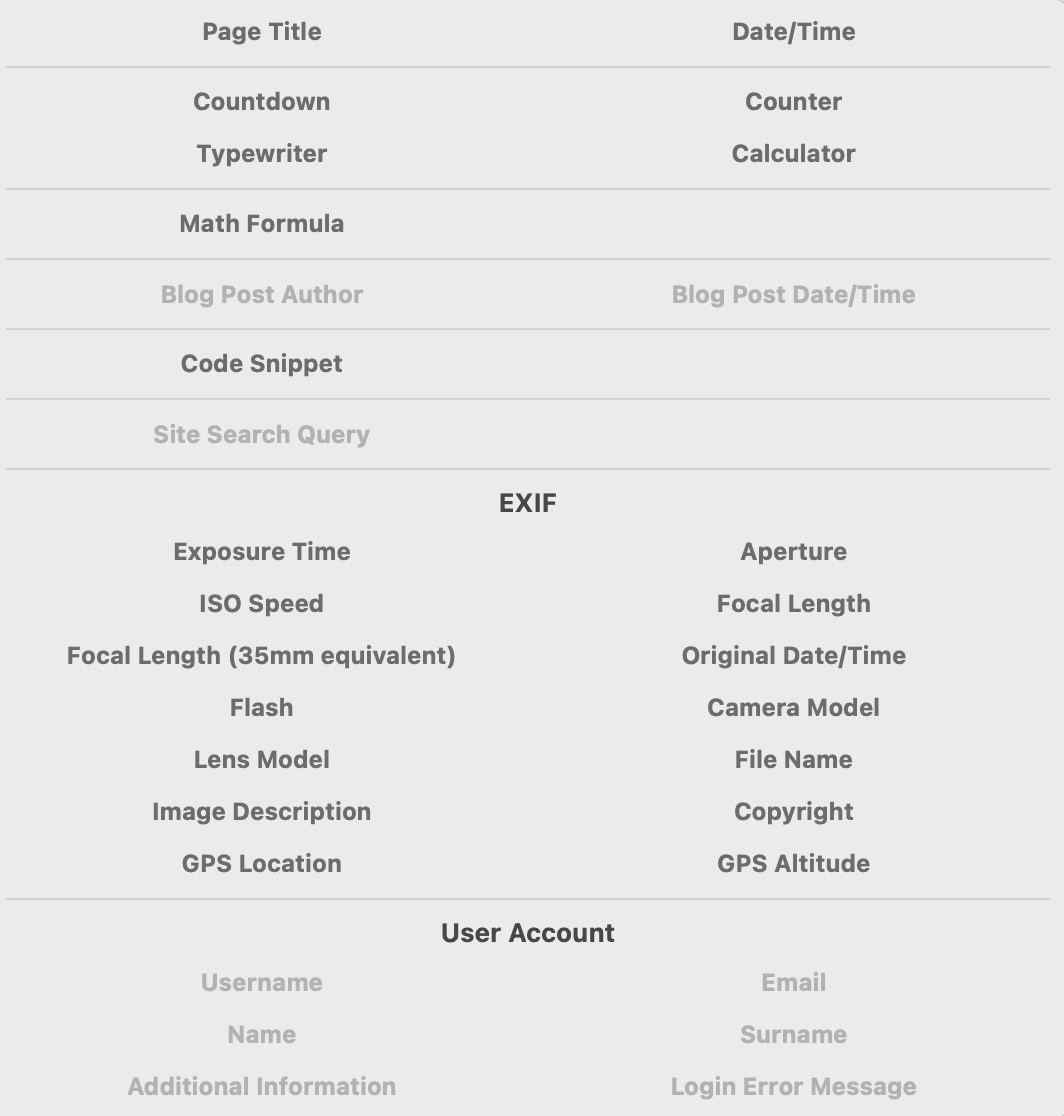
When you add a Smart Field to your text box, you are given the option of various types of fields. These are shown below.
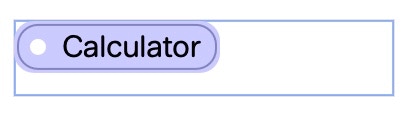
One of the most commonly used options will be the ‘Calculator’ Smart Field. When inserted into a text box, it looks like this.
Clicking on the ‘Calculator’ bubble will open a window where you can add your calculation. Here is what it looks like.
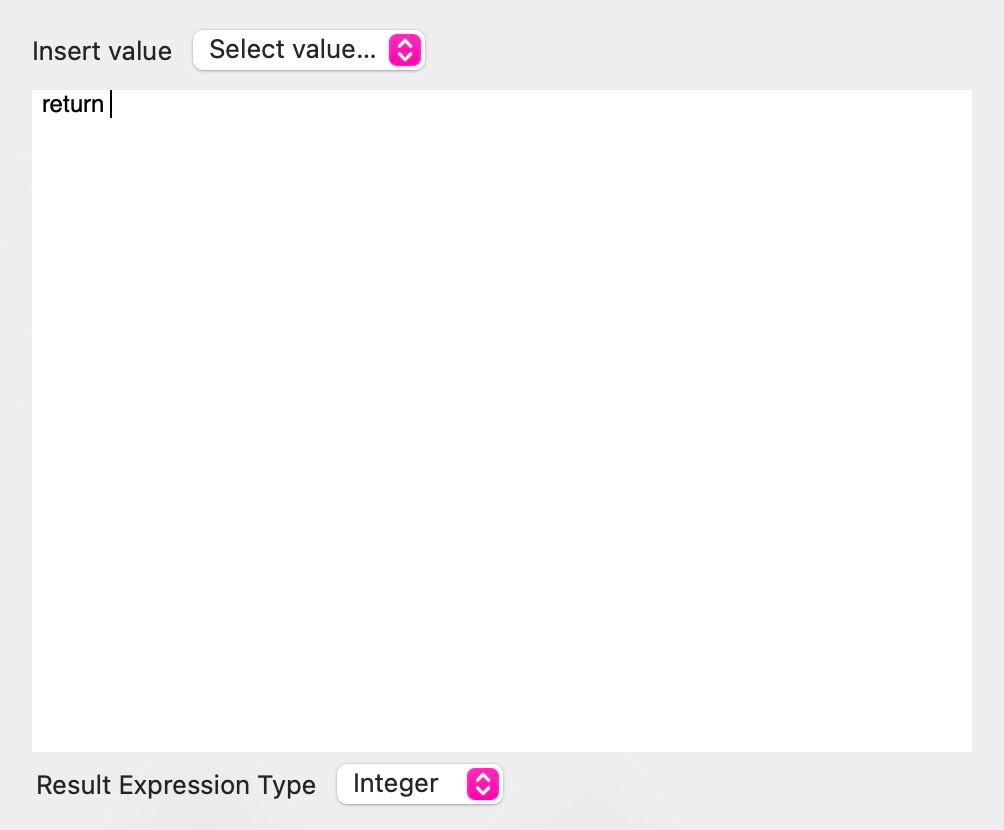
The ‘Select value…’ dropdown will display a list of all input fields on the current page. These can be selected for inclusion in your calculation. When a field is included, it will show as a bubble containing the field name. To perform a calculation using fields, simply place a mathematical operand between the input field bubbles. Here is an example of simple addition.

‘addend1’ and ‘addend2’ are input fields on the page. These fields are normal ‘Text Input’ objects found in Sparkle’s toolbox. They have both been set to ‘Require a Number’. The ‘+’ operand between them tells sparkle to add the two numbers together. Below are some examples of basic math formulas that can be set in a ‘calculator’ Smart Field.
Simple Math
Multiplicand
Multiplier
Result
Smartfield Formula
Multiplication:

Minuend
Subtrahend
Difference
Subtraction:

Addend 1
Addend 2
Sum
Addition:

Dividend
Divisor
Quotient
Division:

(enter some numbers in the fields to see the calculations working.)
Here is a practical example
A ceramic tile reseller may have a listing of products, each with an option to calculate how many tiles may be needed to tile a given floor area. Here is a typical listing on a catalogue web page that performs this function.
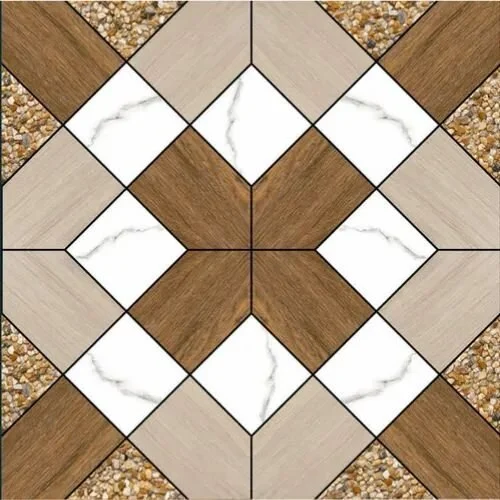
Indian-Style Ceramic floor tiles
600 cm 600 cm
Enter your floor dimension in metres to see how many tiles you need.
Width
Length
Number of tiles
Tiles
We recommend ordering an extra
To cover potential breakages
The ‘Number of Tiles’ field is a smart-field containing the following calculation.

The variables 'width' and 'length' correspond to the input fields on the page where users enter the dimensions. The constant 10,000 represents the conversion factor from square meters to square centimeters. Similarly, the constant 3,600 denotes the number of square centimeters in each tile.
The calculation for 'extra tiles' mirrors that of the 'number of tiles,' but with an additional step to incorporate a 10% safety margin. This means appending *(10/100) to the formula to ensure sufficient coverage beyond the basic requirement.
Calculation possibilities can be extended further by use of the ‘Math Formula’ Smart Field. To use this option requires a little knowledge of the MathJax syntax. There is a link to a reference guide within the formulas window when this option is selected.
Informational Fields
These include things like EXIF date extracted from an image file. Below is the EXIF details extracted from the image on the left.

Exposure time: N/A
Aperture: N/A
ISO Speed: N/A
Focal Length: N/A
Camera Model: N/A
Lens Model: N/A
Other informational fields include the title of the page being viewed, as well as date and time data. For example, this is the date and time that you are viewing this page. This field continuously updates while the page is being viewed.
If you have a website with protected pages in which users have to login, you can use Smart Fields to personalise a welcome message for your logged in users. For example, you could have a welcome message that reads:
Welcome Back, John, Our records show that your email address is john@me.com. If you have changed your email, be sure to let us know by sending a quick email to the administrator.
In the above message, the name ‘John’ would be a Name Smart Field and the email address would be an Email Smart Field.
Counting options
The Countdown Smart Field allows you to set a countdown timer for when a particular event will happen in the future. For example, this is the Number of days until Christmas Day 2030:
Below is the same information with a Flip-board effect applied showing the years, months, days, hours minutes and seconds until Christmas day 2030:
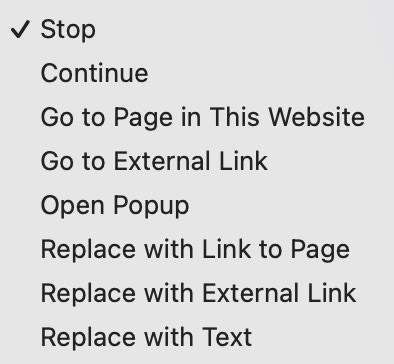
With countdown options, you can set various actions that should happen when the countdown stops. These are shown below.
A ‘Count Up’ Smart Field is also included. This counts up to a specific end number at pre-set intervals.
0
Using Smart Fields as button labels
When you add a button object to the page, you can choose to have the button label as a Smart Field. Double-clicking the button will highlight its default label and give you the option of entering a Smart Field in the Style Inspector. The button below has today’s date as its label
Typewriter Text Effect
The Smart Field panel allows you to include a typewriter text effect field to your page. The effect looks like this.
|
This Smart Field provides additional options for animating the text.
Other options
There are other Smart Fields available, but these relate to certain features that you may, or may not add to your website. For example, there are Smart fields for Blog-related sites that display Blog Post Author Name and Blog Post Dates/Times. These options will only become available when you incorporate a blog into your website.
Quick Video Tutorial

Please report any shortcoming in this documentation and we’ll fix it as soon as possible!
Updated for Sparkle 5.5
This website makes use of cookies.
Please see our privacy policy for details.
It’s Okay
Deny