The Arrange panel, the Arrange menu, and the Format Bar are your tools for managing the layering of elements.
Elements are displayed in the order they were added to the project. This order doesn't matter if the elements don't overlap. However, when overlap occurs, you need to control the placement.
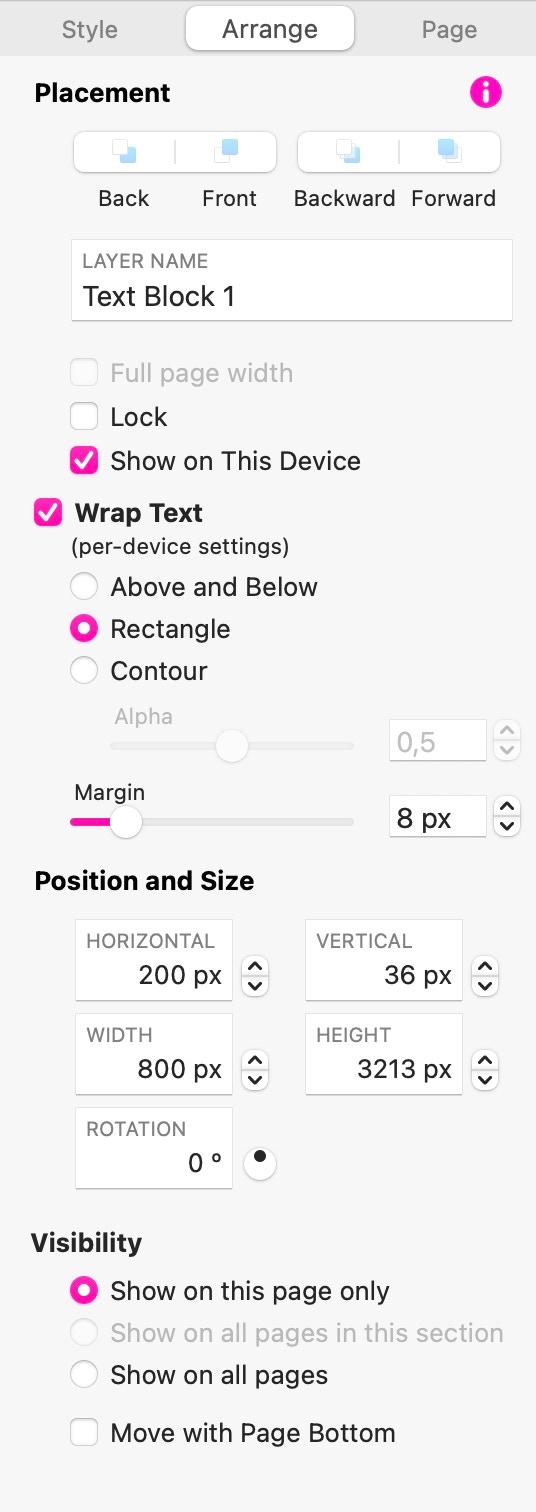
The Back button moves the element behind all others, while Front brings it to the front. Backward moves the element one step backward in layering (swapping its position with the following element), while Forward moves it a step forward (swapping its position with the previous element).
The layer name is shown in the layer panel, helping you select elements and understand the page layout. It is strongly recommended that you give your object layers a meaningful name to help you identify them in the layers panel.
The Full Page Width setting can be used for boxes, galleries, maps, videos, and embed elements, extending them beyond the page margins for a full bleed effect.
The Lock setting prevents an element from being moved on the canvas and removes it from multiple selections in many circumstances.
The Show on This Device setting toggles the visibility of the element on the current device, useful for multi-device setups.
Elements can be resized by specifying the desired width and height in the Arrange Inspector pane or by using the handles on edges and sides. Holding the Shift key while dragging preserves the element's aspect ratio.
Elements can be moved by specifying the desired horizontal and vertical position in the Arrange Inspector pane or by dragging them directly. Holding the Shift key while dragging constrains movement on horizontal, vertical, or diagonal axes.
Most elements can be rotated via a rotation setting in the Arrange Inspector pane.
Text Wrapping
After adding an image in the canvas, you can set text wrapping options to control how text flows around the image. This feature isn't limited to images; it works with any canvas element. By default, text wrapping is off, so text will overlap the element or end up below it.
Setting "Above and Below" keeps text above and below the object. Deselecting this option allows the text to flow around the object.
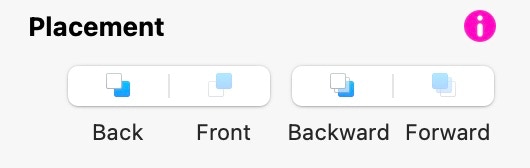
Setting "Rectangle" causes text to wrap to the frame containing the element on the canvas.
Setting "Contour" If you have an image with a transparent background, checking this option will cause text to wrap around the image. Image transparency often has multiple levels, represented as a range from 0 to 1 in Sparkle. You can control how far in the text will overlap with a transparency gradient with the Alpha slider.
Text wrapping also accounts for element rotation and image or box corner rounding, allowing creative text layout even without transparent images.
For a visually pleasing layout, text should be tightly aligned around the element. For example, left-aligned text works best with an image on the left, and right-aligned text works best with an image on the right.
Visibility
Sparkle's visibility setting ensures consistent display of common page features across the website for visual consistency. You can show the page header, navigation element, or footer consistently on all site pages or just in a section.
When an element is visible on multiple pages, it remains fully editable in all of them. Grouping elements and making the group visible on multiple pages is a useful trick.
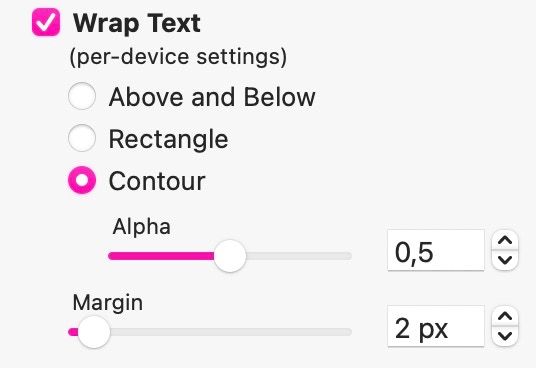
The multi-page visibility applies to all properties, including position. The Follow Footer setting is particularly useful, anchoring an element to the page bottom for a common footer on pages of different heights.
The Move with Page Bottom setting causes elements to move along with the page bottom handle, adjusting their position on pages of different heights.
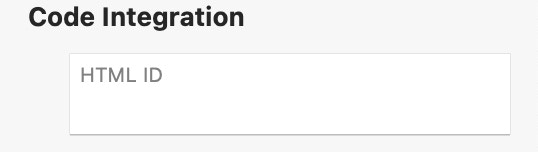
Advanced Code Integration
If you've enabled the relevant option in the Miscellaneous Site Settings, you'll find an additional section at the bottom of the Arrange Inspector. This allows you to enter an HTML id attribute for the object, useful for element targeting via Google Tag Manager or code integration via JavaScript.


Please report any shortcoming in this documentation and we’ll fix it as soon as possible!
Updated for Sparkle 5.5
This website makes use of cookies.
Please see our privacy policy for details.
It’s Okay
Deny